Configuration
The integration uses an intuitive multi-step setup wizard with autocomplete functionality.
Setup Wizard
When you add the integration, you'll first see a confirmation dialog:
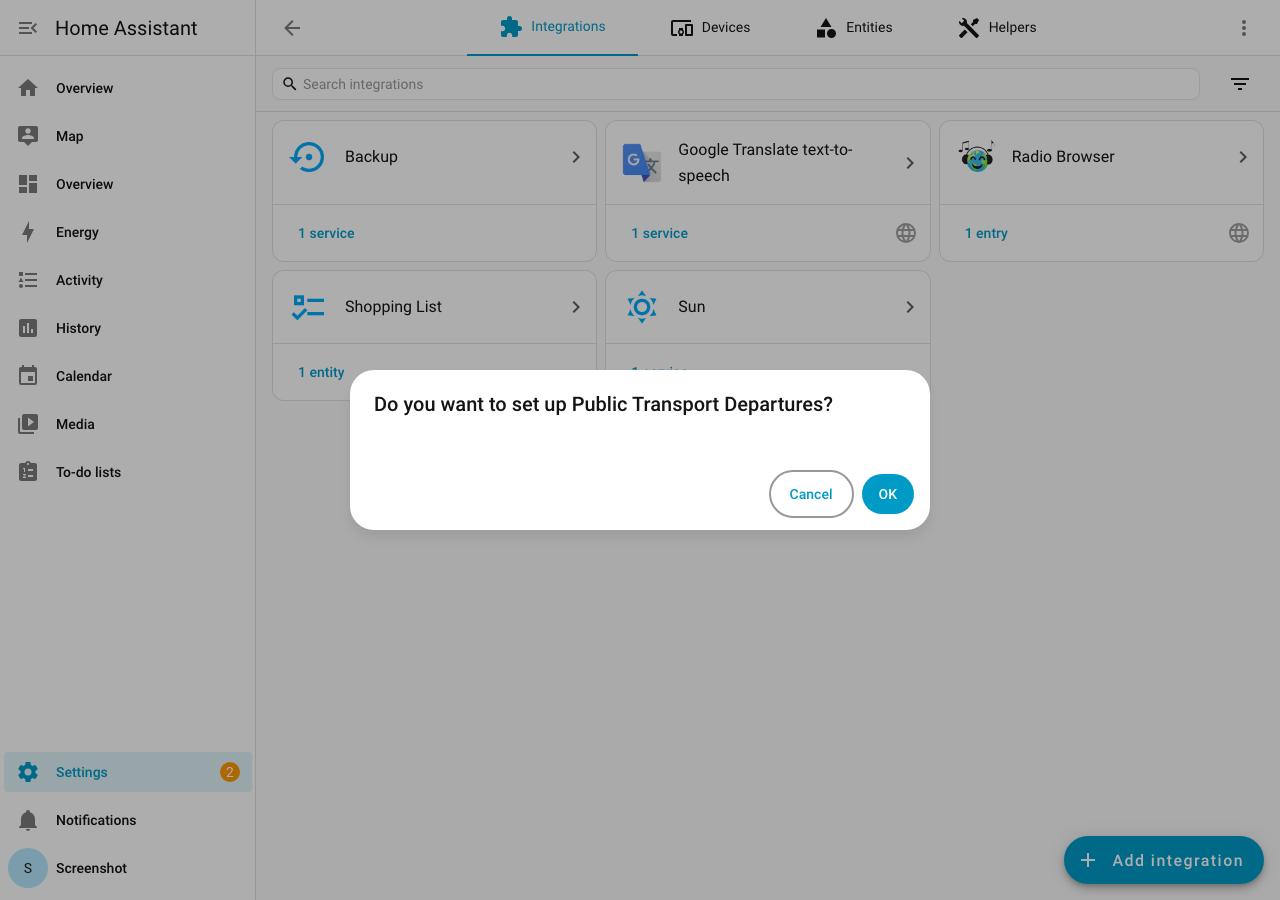
Click OK to start the setup wizard.
Step 1: Select Provider
Choose your transit provider from the descriptive dropdown. Each entry shows the provider's full name and region (e.g. "VRR — Rhein-Ruhr (NRW)" instead of just "vrr"). You can also select the entry type: Departure Monitor, Trip Planner, or Multi-Stop.

All 28 providers are available — see the full provider list for details.
Note
Most providers require no API key. Trafiklab (Sweden), NTA (Ireland), and RMV (Frankfurt) require a free API key — you'll be prompted to enter it in the next step.
Step 2: API Key (if required)
For Trafiklab and NTA providers, you'll need to enter your API key.
See the provider-specific documentation for instructions:
Step 3: Search for Stop
Enter your stop/station name. The integration will search and suggest matching stops.
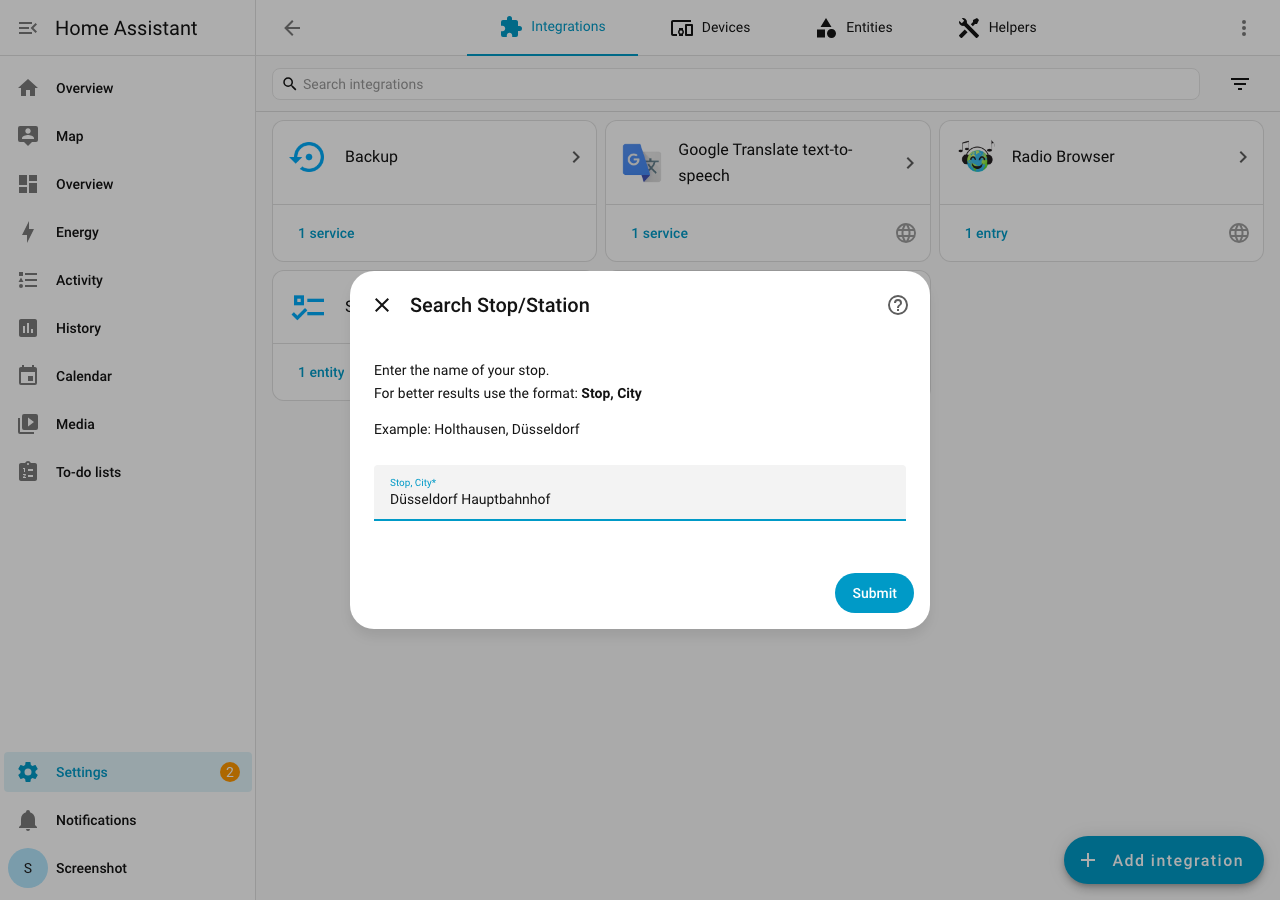
Tips for better search results:
- Use the "Stop, City" format for precise results (e.g. "Holthausen, Düsseldorf") — the integration splits this into a stop name and city filter automatically
- You can also enter the city name along with the stop name (e.g., "Düsseldorf Hauptbahnhof")
- The search is case-insensitive — "karlsruhe hauptbahnhof" works just as well as "Karlsruhe Hauptbahnhof"
- For OTP providers (openpublictransport.net, custom OTP2): you can also enter an address or place of interest (e.g. "KIT Karlsruhe") — the integration geocodes it and finds nearby stops automatically
- The search handles typos and umlaut variations automatically
- For Swedish/Irish stops, use local naming conventions
Step 4: Select Stop
If multiple stops match your search, you'll be presented with a list to choose from. Each entry shows:
- Stop name
- City/place (in parentheses)
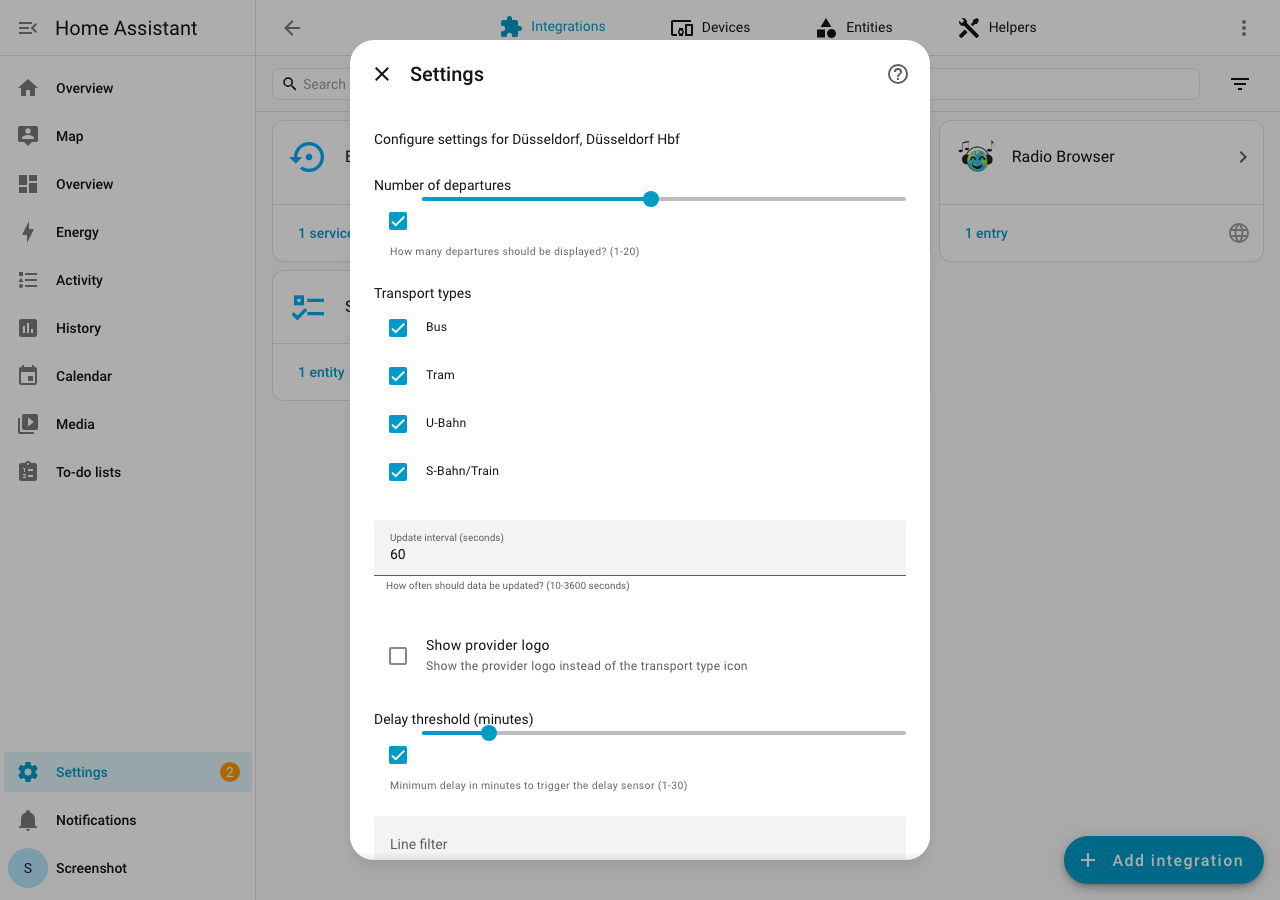
Step 5: Configure Settings
| Setting | Default | Range | Description |
|---|---|---|---|
| Number of departures | 10 | 1-20 | How many departures to fetch |
| Transportation types | All | Multi-select | Filter by transport type |
| Scan interval | 60 | 10-3600 seconds | How often to update |
| Use provider logo | Off | On/Off | Show provider logo instead of transport icon |
After completing the settings, the integration will create a device with all entities:
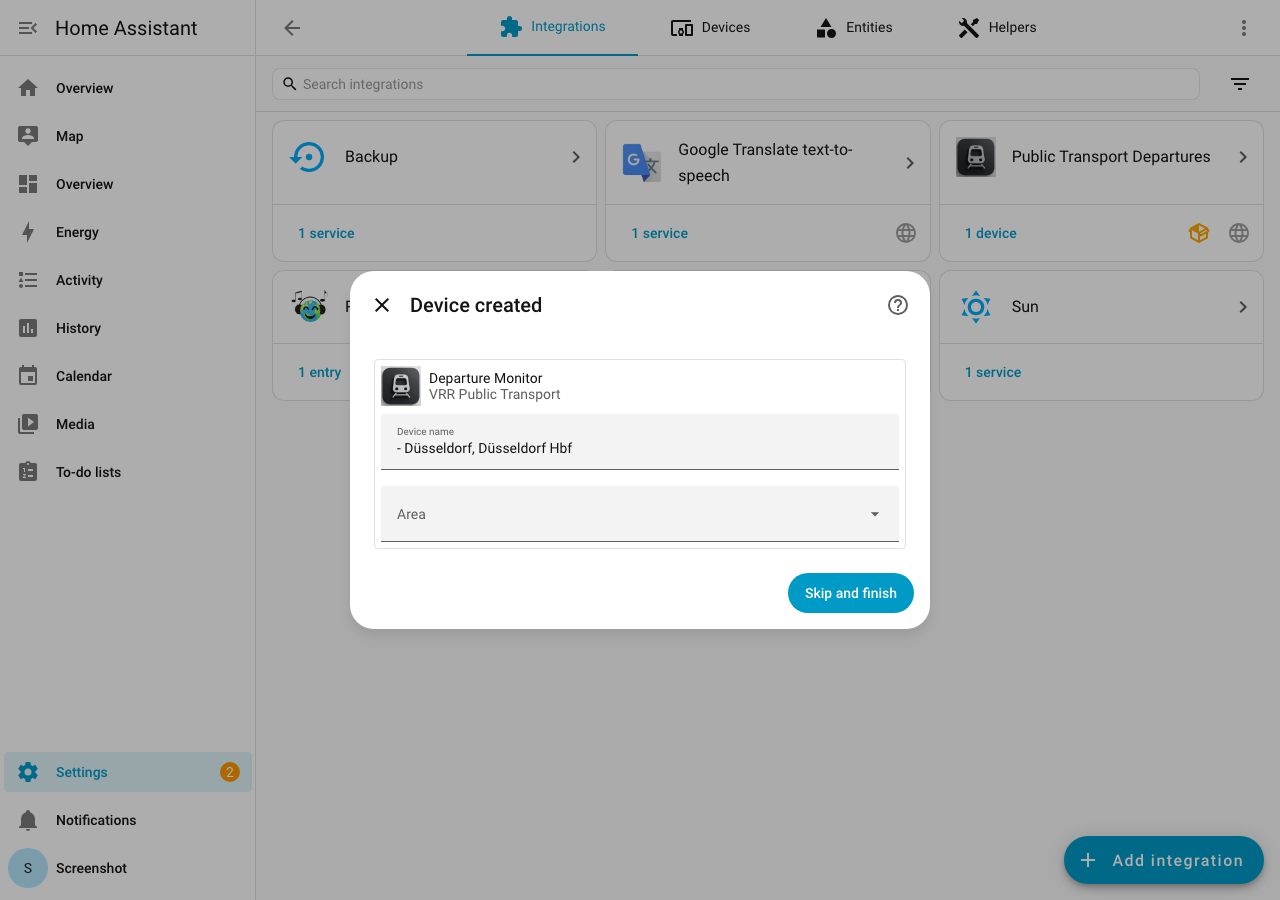
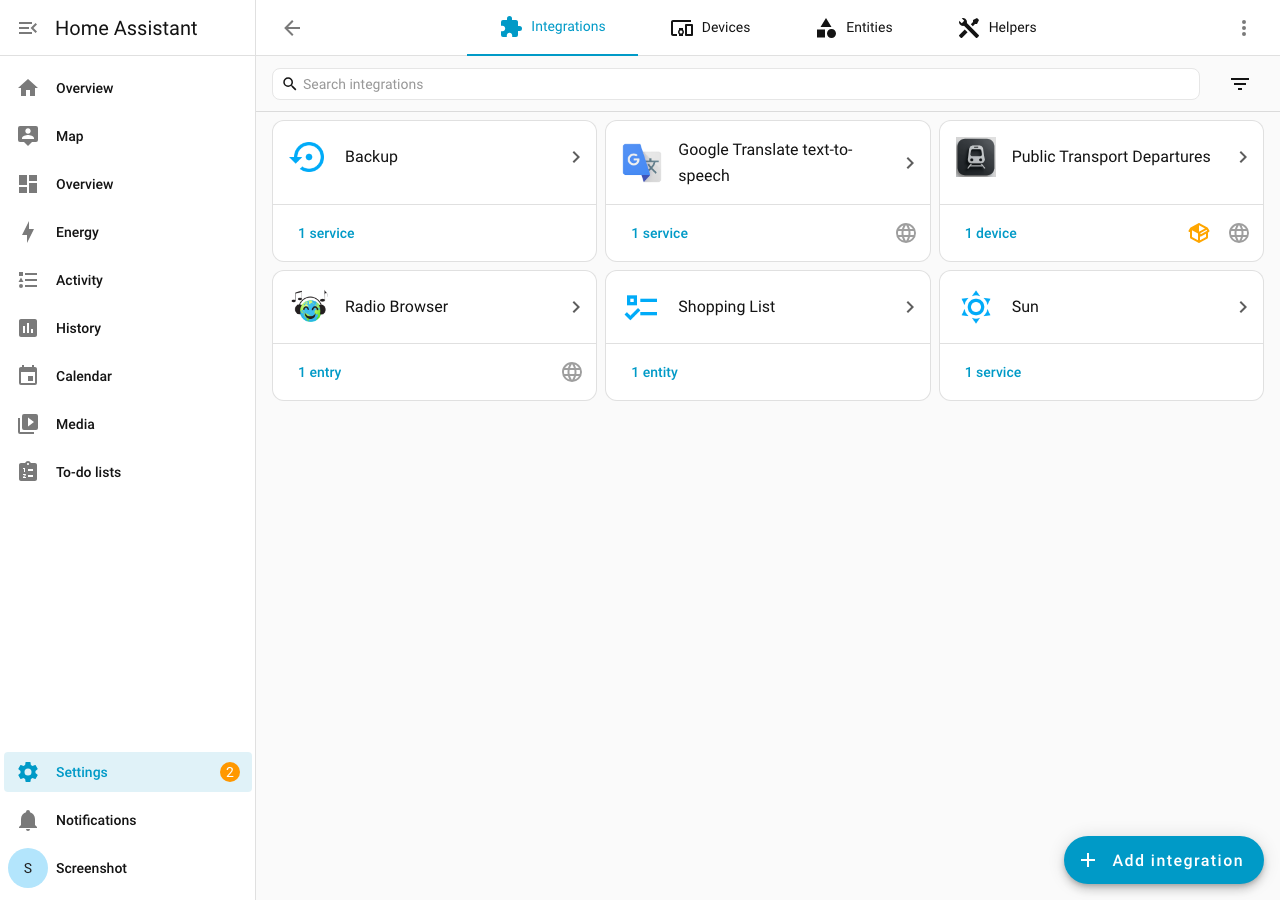
The integration will now appear on your Integrations page:
Adding Multiple Stops
To monitor multiple stops:
- Go to Settings > Devices & Services
- Find the "Public Transport Departures" integration
- Click Add Entry
- Follow the setup wizard again
Each stop will create its own sensor and binary sensor entities.
Modifying Settings
After initial setup, you can modify settings:
- Go to Settings > Devices & Services
- Find your stop entry
- Click Configure
- Adjust settings as needed
Tip
You can change:
- Number of departures
- Transportation type filter
- Scan interval
- Provider logo display
Configuration Options Reference
Number of Departures
Controls how many upcoming departures are fetched from the API.
- Minimum: 1
- Maximum: 20
- Recommended: 5-10
Higher values provide more information but increase API usage.
Transportation Types
Filter departures by transport type:
| Type | Description |
|---|---|
train |
All trains (ICE, IC, RE, RB) |
subway |
Subway/Metro (U-Bahn) |
tram |
Tram/Streetcar |
bus |
All bus types |
ferry |
Ferry services |
taxi |
Taxi/On-demand |
Scan Interval
How often the integration fetches new data from the API.
- Minimum: 10 seconds
- Maximum: 3600 seconds (1 hour)
- Recommended: 60-120 seconds
Warning
Setting very low intervals may trigger rate limiting on some providers.
Use Provider Logo
When enabled, the entity picture shows the provider's logo instead of the dynamic transport type icon.